How to Cut a Pear 5 Ways
Impress your party guests with stunning fruit art for any occasion.
Oct 15, 2025
It's hard to say no to a gourmet charcuterie board filled with dried fruit, nuts, cheese, and cured meats. The best charcuterie boards come with splashes of color from green garnishes and, best of all, fresh fruit. Add seasonal fruit to your snack spreads to stay on theme and guarantee the best taste experience. A freshly cut pear goes a long way, but you can do so much more than simply slicing it.
If you're wondering how do you cut a pear, here are five ways to cut pears that will impress your guests, and maybe even yourself.
Classic cut
The classic cut is perfect if you're looking for a quick snack. Try dipping the pears into warm peanut butter, chocolate, or caramel for a sweet surprise. For a more savory twist, use the sliced pears in place of bread or crackers for unique appetizers. Or, top each slice with blue cheese, walnuts, and a drip of honey.

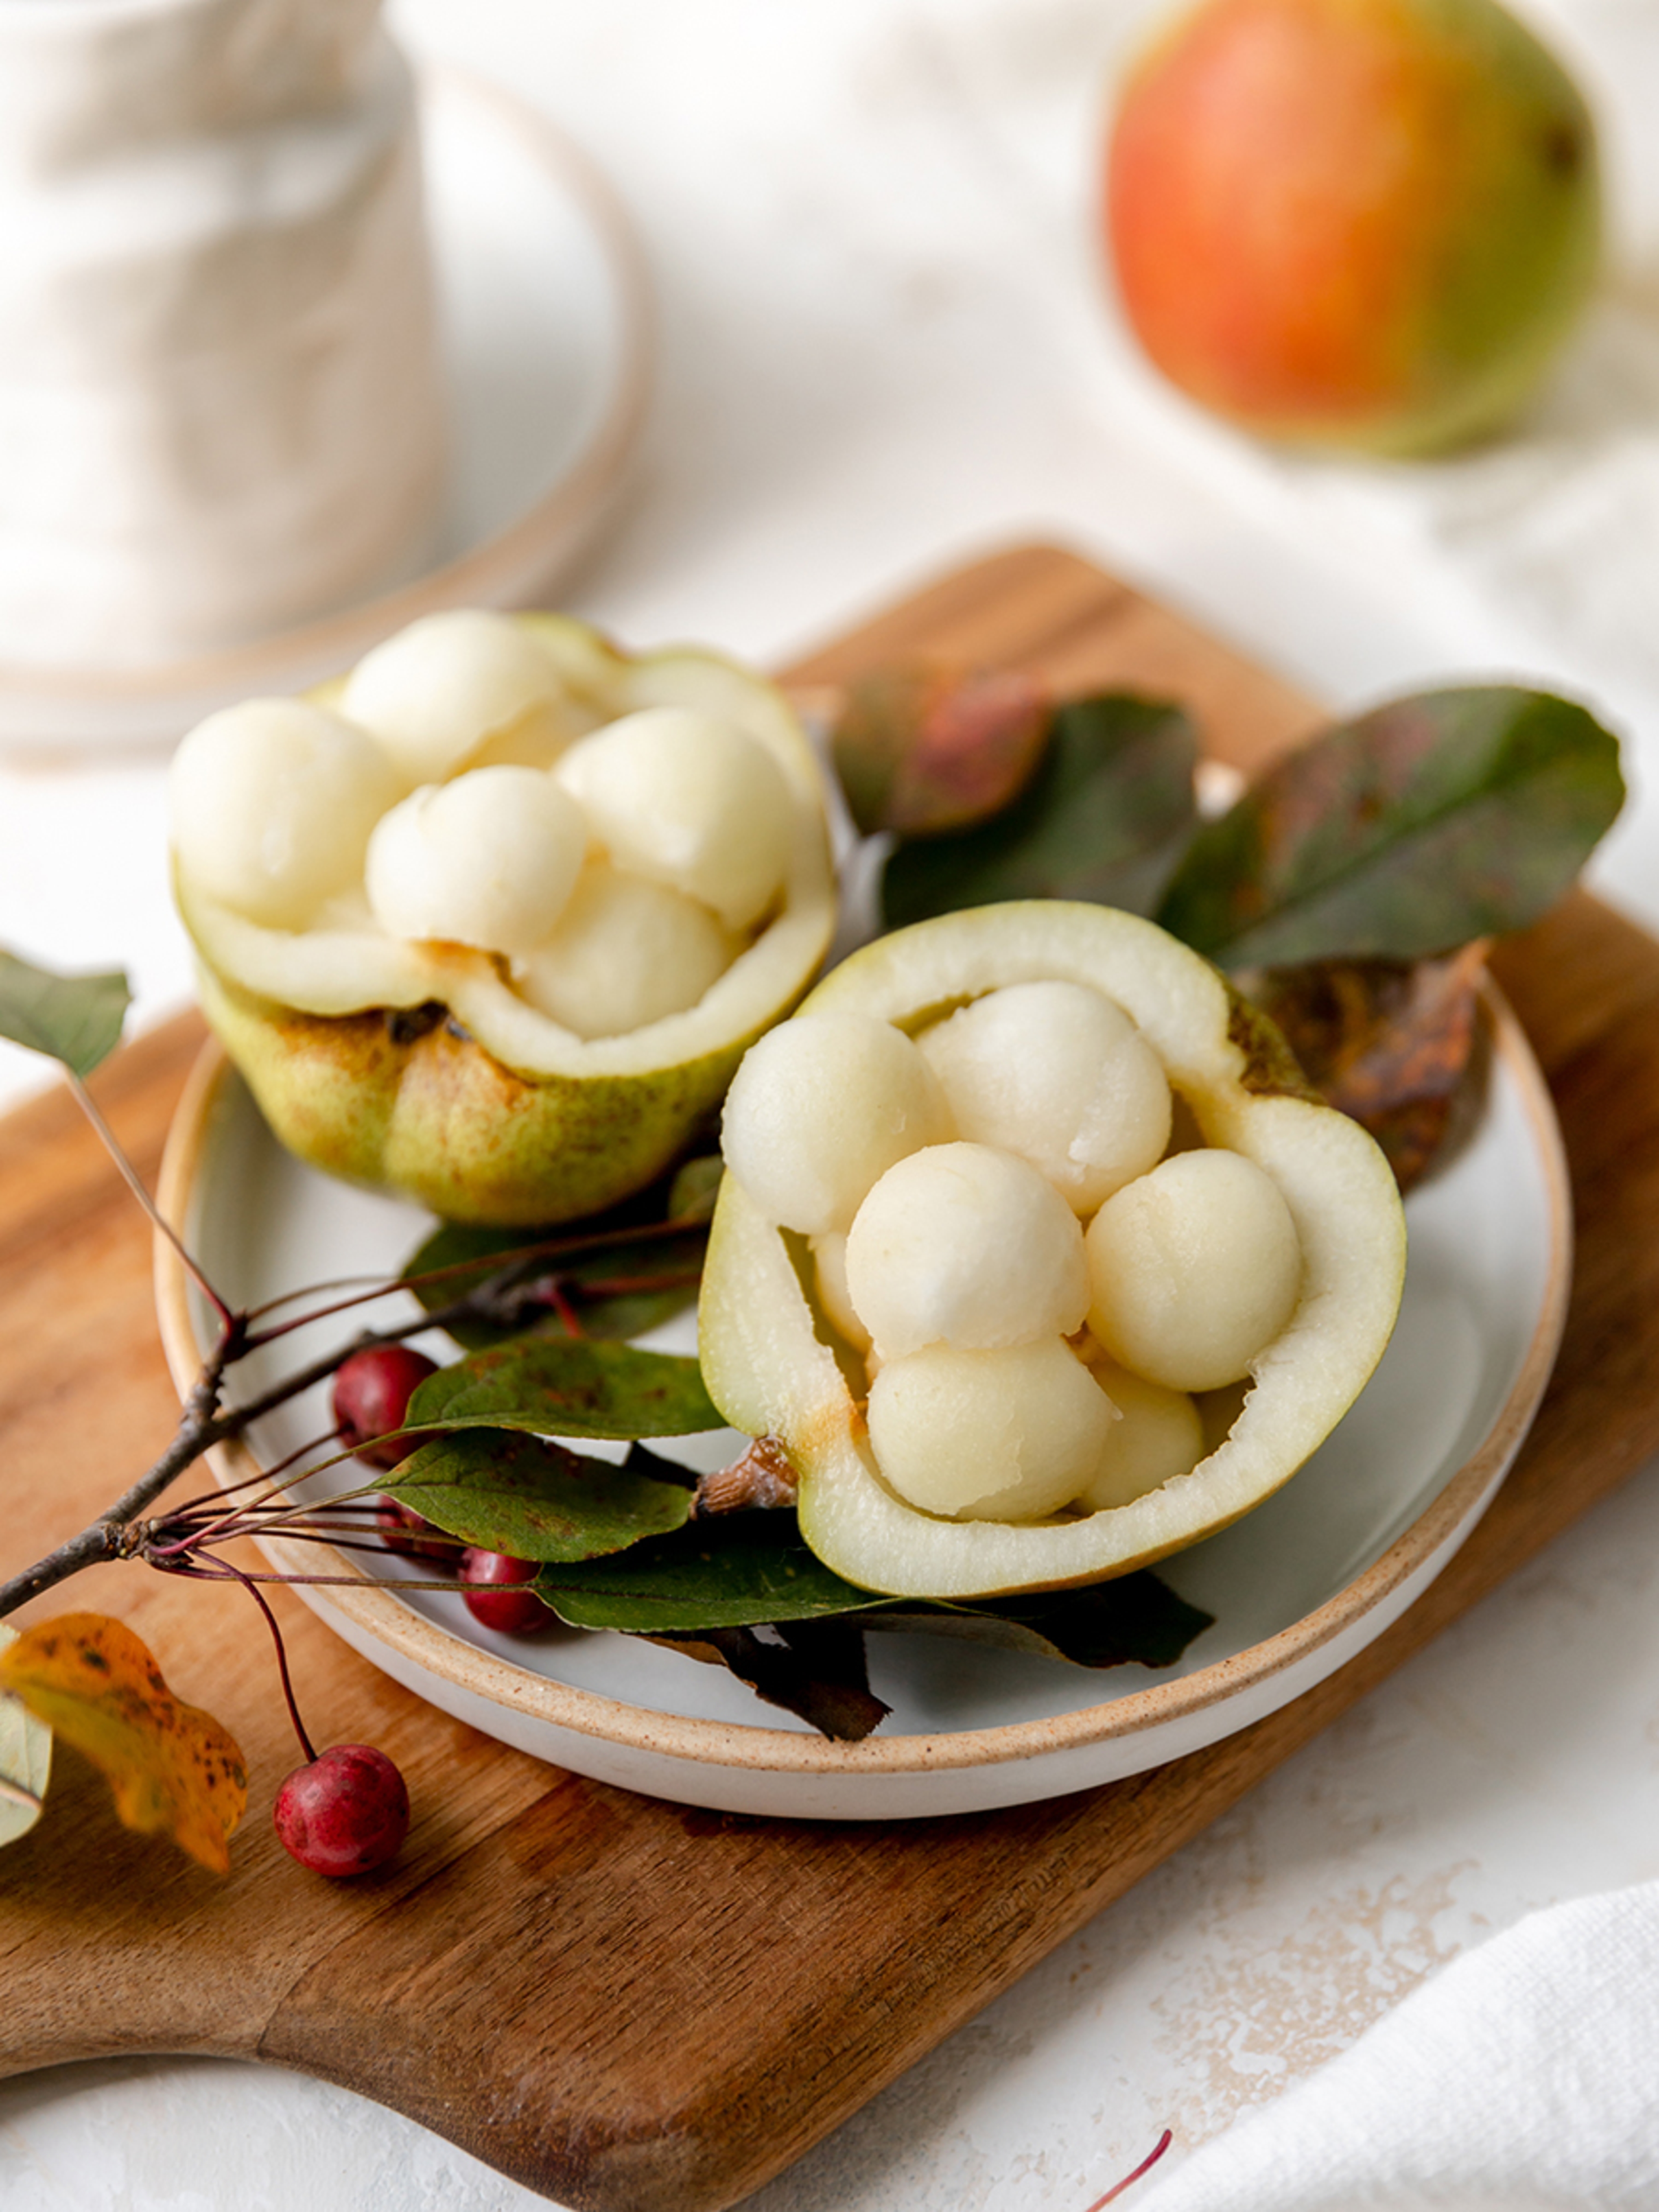
Core a pear
This unique cut creates a bowl as well as small pear spheres (thanks to our trusty friend the melon baller). The pear bowls can hold the spheres for a delightful display, or they can hold berries, pumpkin seeds, caramel sauce, or anything else your heart desires. It's a clever way to present finger food on a spread alongside charcuterie and cheese.

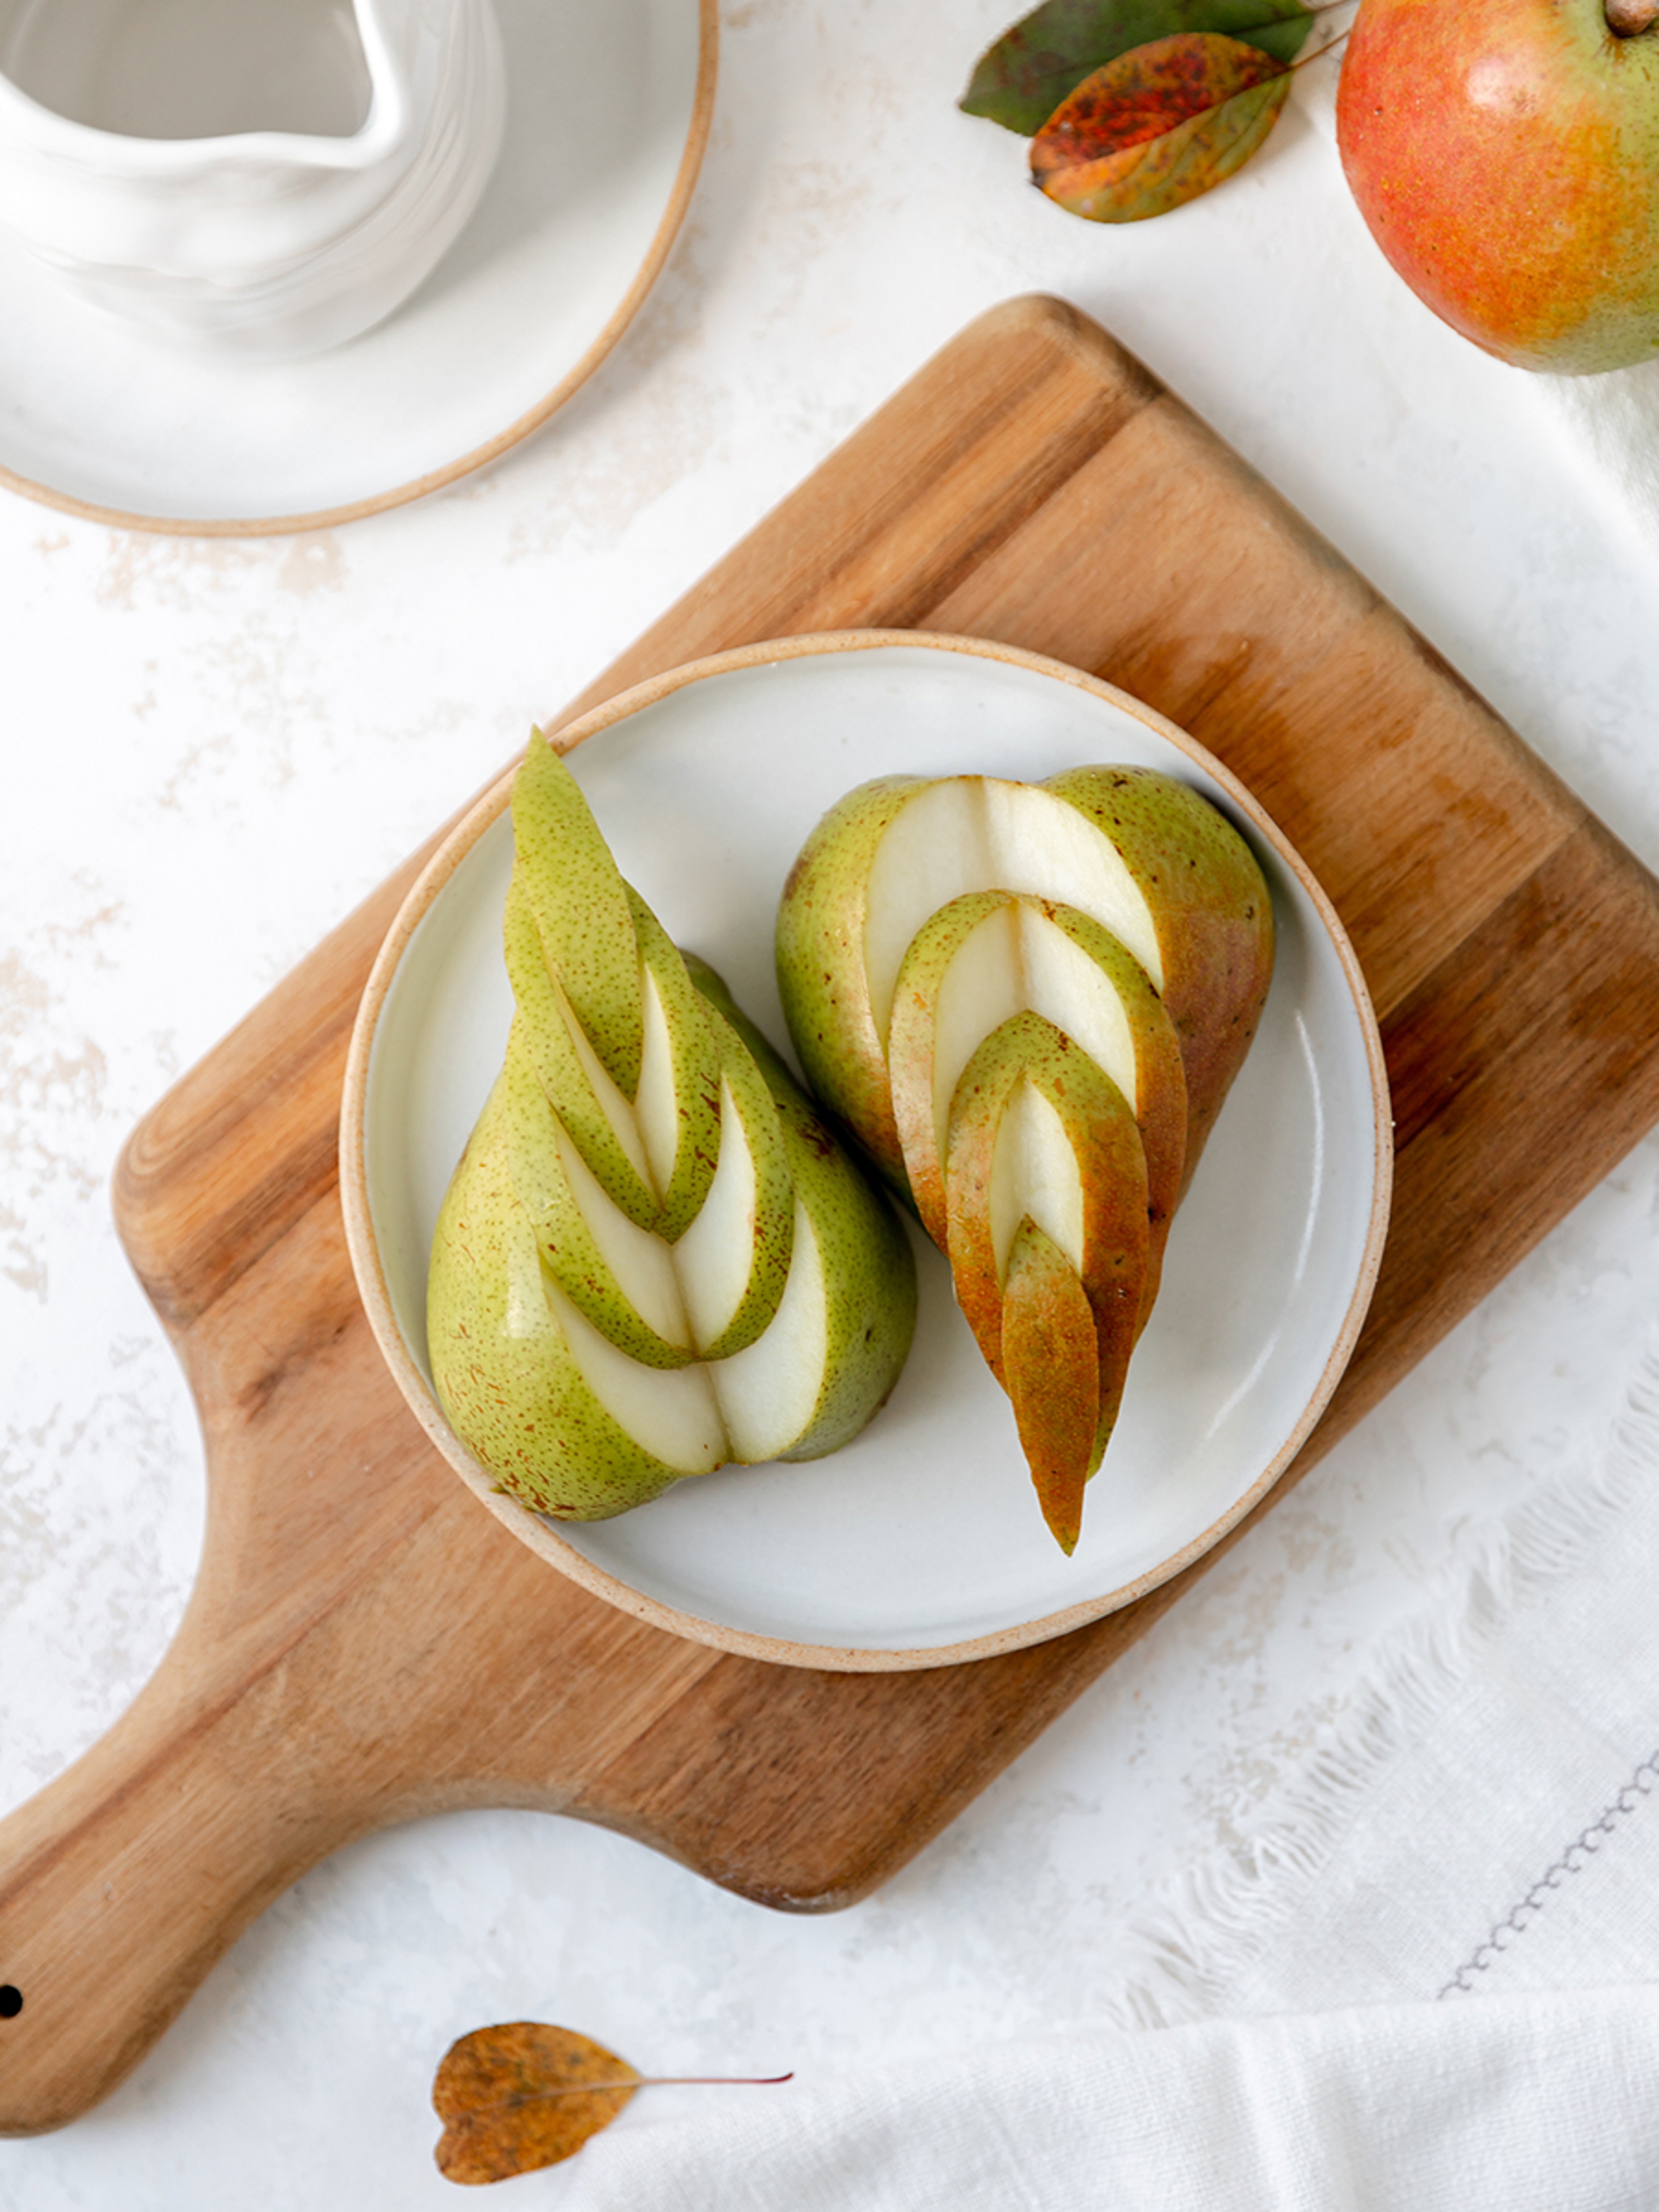
Dovetail
Make your next charcuterie board or snack spread more sophisticated by cutting your pears into a dovetail shape. Place the sliced pear upright on the charcuterie board and add cascading berries for a more dramatic effect.

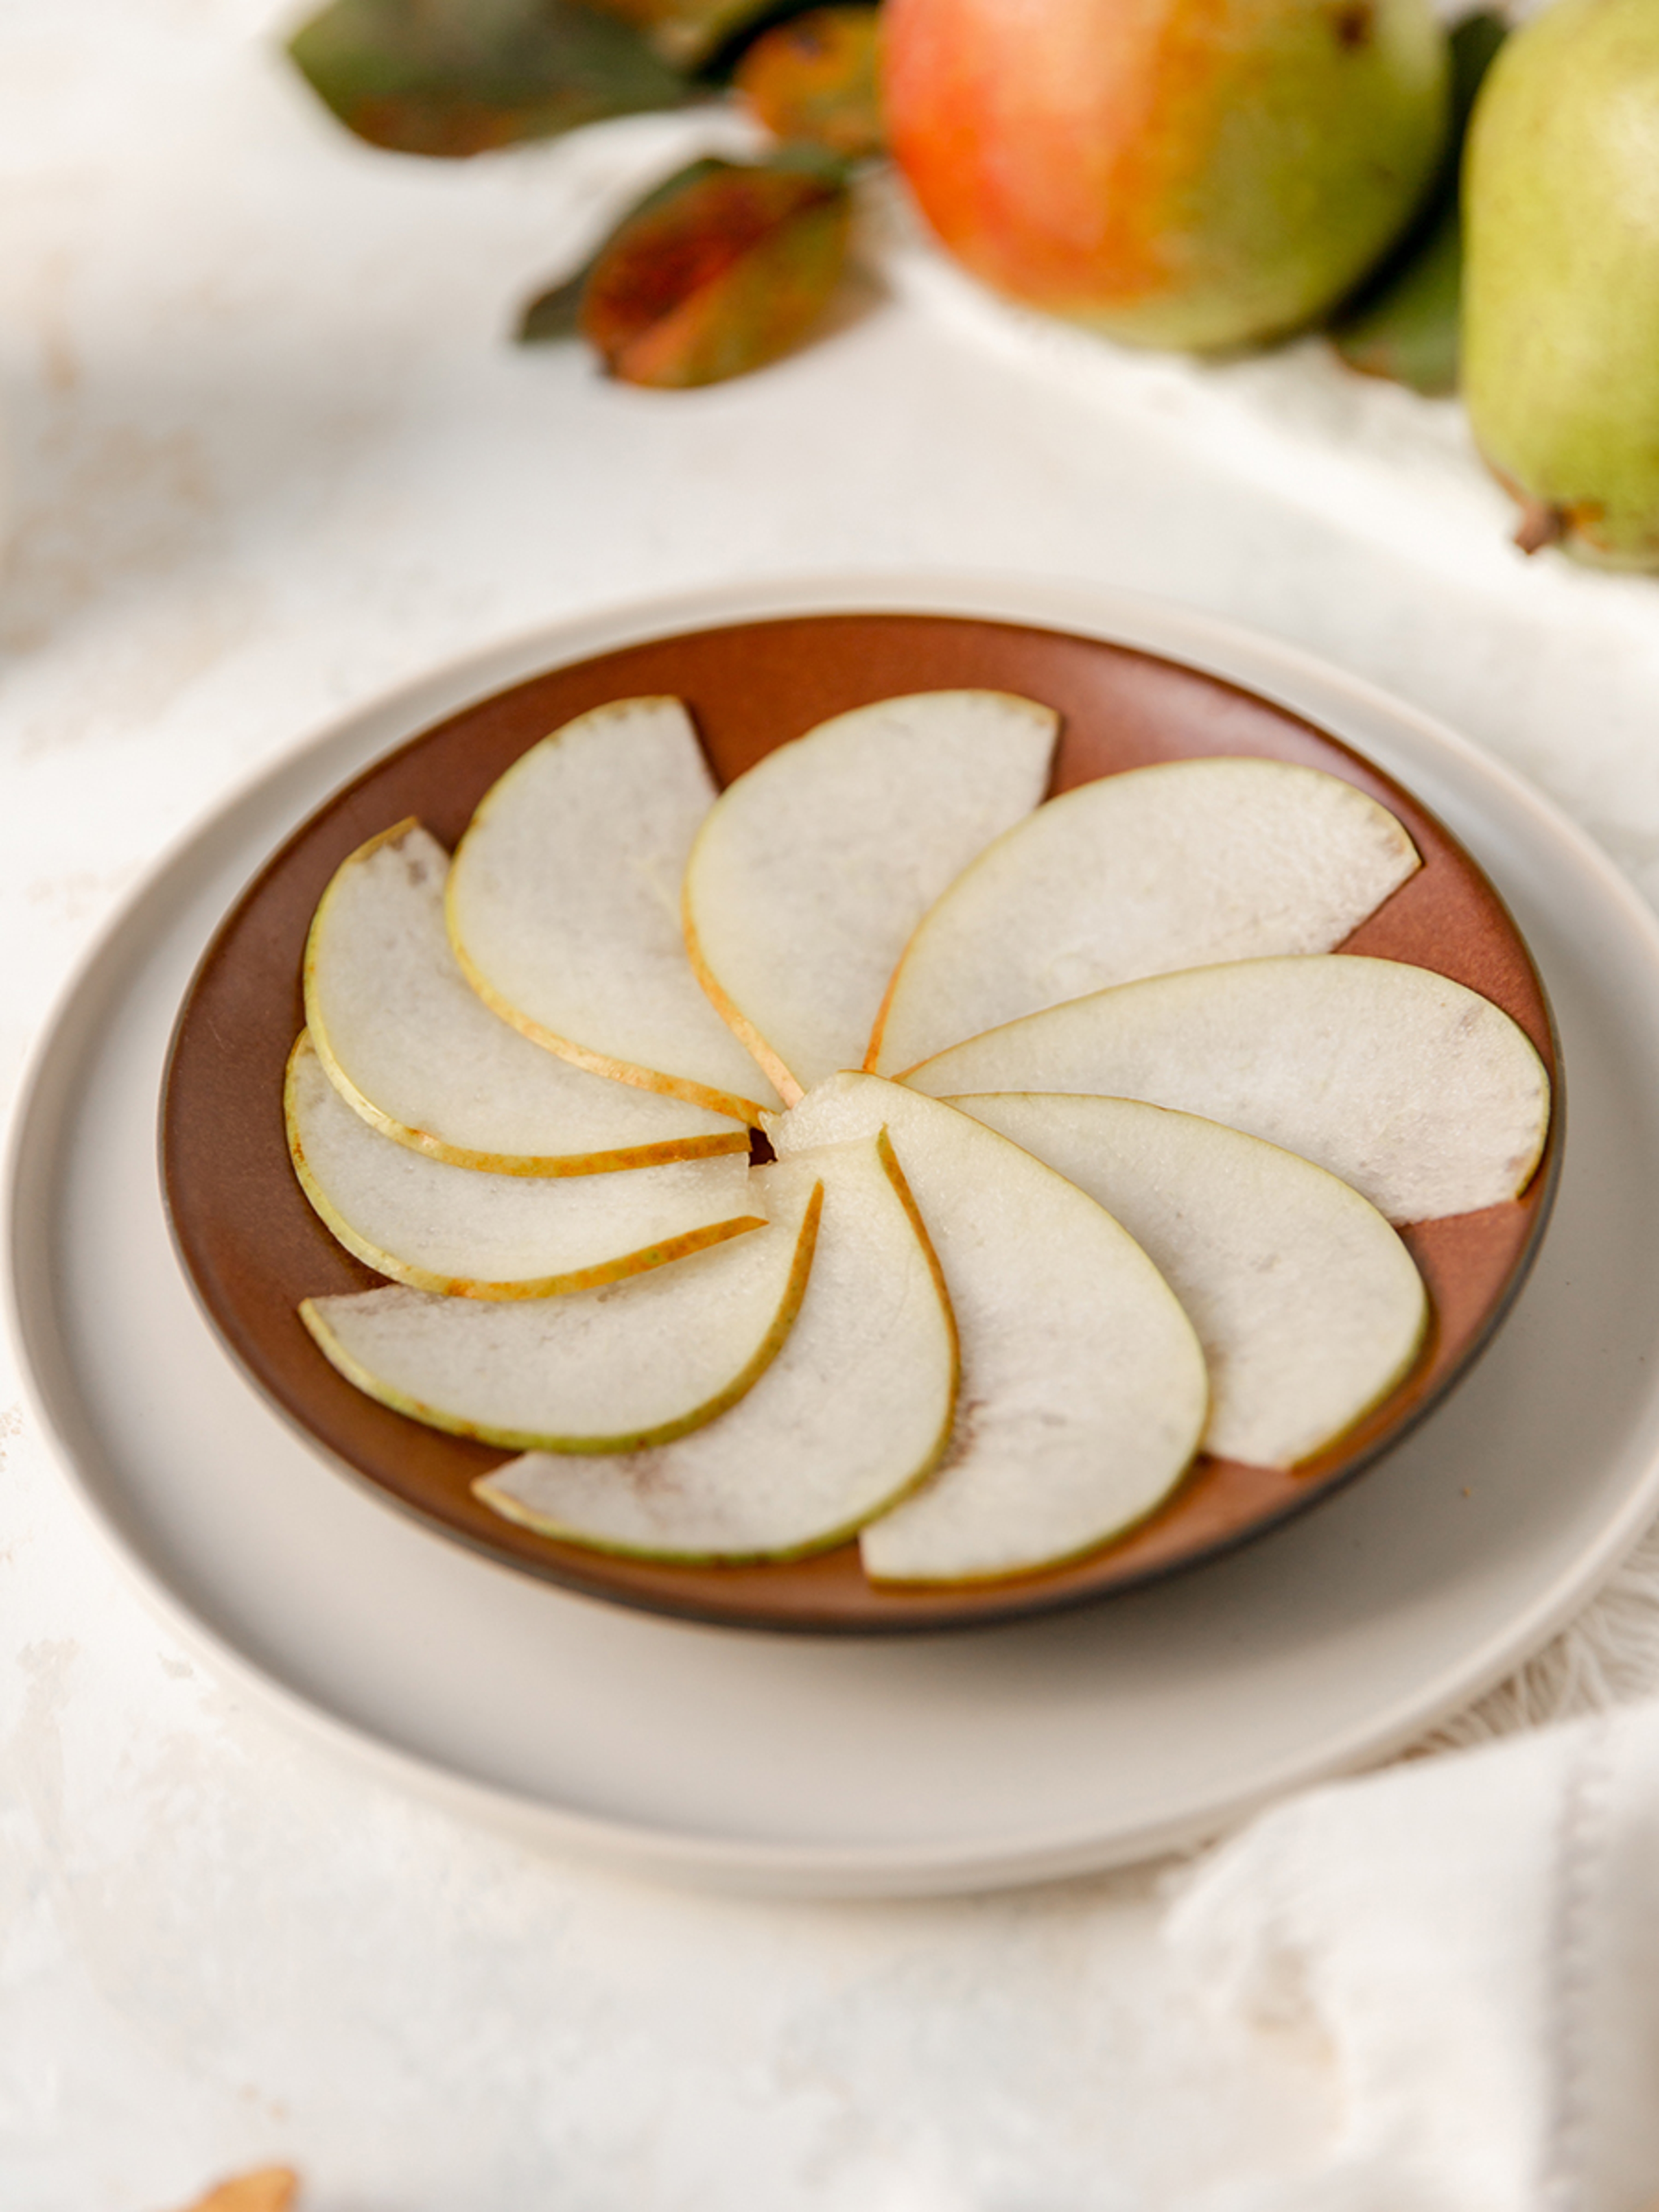
Pinwheel cut
Use a mandolin to get paper-thin slices of pear before arranging them in a pinwheel shape. This technique lends itself to making tarte tatin and other “upside down" tarts. Just be careful when slicing the pears, as mandolins are notoriously sharp.

Structured mold
Slice the pears very thin, similar to the classic cut, and lay the slices on top of one another to create one line of pears. Add a bit of lemon juice to soften the pears, to prevent browning, before carefully rolling them up like you would a cinnamon roll (mmm...cinnamon roll...). Place them into a small ramekin or coffee cup to maintain their shape. Let the slices sit for at least five minutes.
Recipe and photography by Danielle Rodgers
.svg?q=70&width=384&auto=webp)


